• Quality

Forging quality inspection and quality control

Forging is a complex process that integrates metal materials, forging processes, mold design and manufacturing, temperature control, measurement technology, data processing and quality management. It shows that the factors affecting the quality of forgings are multifaceted. Therefore, only the various factors and processes that affect the quality of the forgings are detected and controlled, and each process and factor are qualified to ensure the final forgings are qualified. There are many detection methods for the same test item. According to the actual situation, under the premise of ensuring reliable results and satisfying production efficiency, try to use low cost schemes, self-made gauges and special gauges are a good choice. The measured data can be processed not only to determine the pass or fail of the forging, but also to find the cause of the failure by means of the analyzed data, so that effective measures can be taken to improve the quality of the forging.

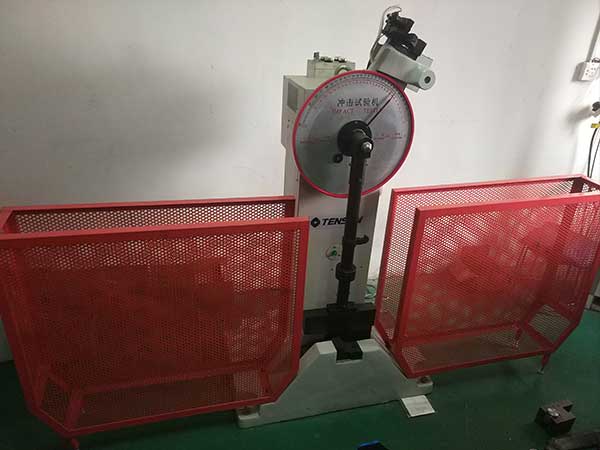
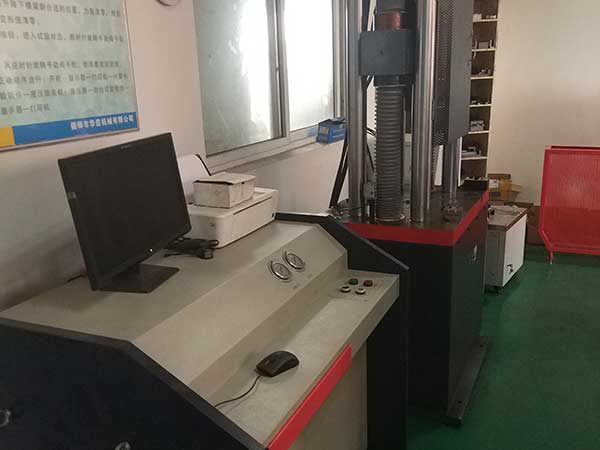
Forging quality testing items include: material, size, weight, appearance, physical properties (hardness, yield strength, tensile strength, impact energy), non-destructive testing (magnetic particle testing, ultrasonic, penetration testing, eddy current testing), profile flow lines, off Carbon layer depth, metallographic structure.

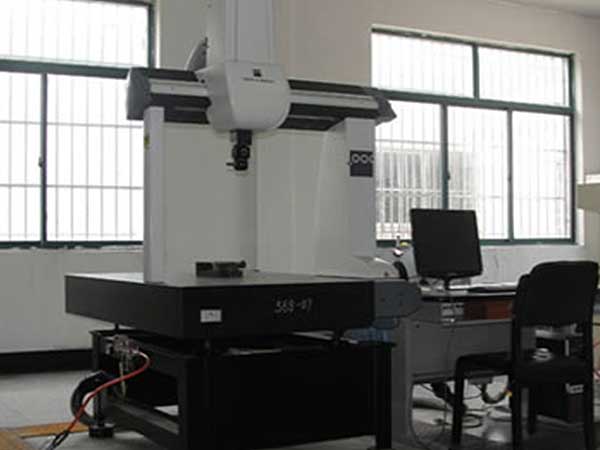
According to the needs, you can choose different detection methods, such as: chemical analysis or spectral analysis; size detection with caliper, three coordinates, laser scanner, profiler, projector, special gauge.

However, different detection methods will affect:
(1) accuracy of detection, reliability of data;
(2) efficiency of detection;
(3) cost of detection. Generally, when the standard requirements are met, a high-efficiency, low-cost detection method is selected

1. Detection and control of raw materials

(1) Verification of quality certification documents: Whether the contents of the quality assurance book are complete and clear, and whether the indicators listed in the warranty book meet the requirements of procurement documents, contracts or technical agreements. If there is a requirement for the furnace number, whether the furnace number of the warranty book is consistent with the receipt of the goods, and whether there is a phenomenon of mixing the furnace number.
(2) Inspection of raw material dimensions: Measurement of diameter, thickness, section size, length, etc.
(3) Appearance inspection: Whether there are cracks, rust pits, bending deformation, hard damage, and whether there is any confusion.
(4) If necessary, the raw material sampling for component analysis, physical property testing, low-magnification tissue testing, metallographic analysis, hardenability test, can be carried out in a tower test to check whether there is hairline and severity.

2. Detection and control of blank blank

Check the specifications, surface quality, fracture shape and size, weight, length, etc. of the blank to meet the requirements of the process documents. The methods of measurement include: visual inspection, vernier caliper, ruler, electronic scale, angle ruler, etc. If there is a requirement for the material or the tail, it shall be carried out as required. The blanks should be marked and made first-in-first-out by batch number.

3. What to check before forging starts

Before forging, check whether the technical documents for production are complete, whether the document version is valid, whether the measuring tools, gauges and measuring instruments are complete, and whether they are in good condition, whether they are in the valid period, some measuring instruments need to be zeroed or calibrated; verify whether the tooling and mold are Correct, complete, intact; check the information on the blank box identification card is correct, meet the requirements; check whether the preheated mold temperature meets the requirements.

4. Inspection and control during forging

A.Blank temperature detection and control

If there is a temperature detection system and a sorting device, temperature measurement and control are easier to implement and the reliability is higher. However, there is a point that the thermocouple should be regularly compared and calibrated and recorded. For super-tempering materials, it should be scrapped on duty, reheated for low-temperature materials, and can be heated for multiple times. For temperature-qualified but unforged billets, according to product requirements, it can be heated up to 2 to 3 times, for demanding forgings. The blanks need to be brought together and produced as a batch at the end of the forging, and recorded and identified. Forgings that are not demanding can be handled on the job at any time without separate identification and recording.

If there is no temperature detection system, apply the color chart to the temperature. It can also be judged by experience, but it must have some experience of electric stove workers and furnace workers.

B.Forging and control during forging

The billet has upsetting, lengthening, bending, hoeing, etc. If the tooling die is used with a limited position, the finished billet is stable in size and quality can be guaranteed. If the limit is not easy to achieve, a contrast should be placed next to the blank and compared at any time during the blanking operation. Because the blanking operation is very fast, the slow temperature will cause the temperature to drop quickly, the size measurement is difficult, the measurement operation needs to be fast and accurate, and it is difficult to realize, so the method of comparing objects is simple and easy.

C.Inspection and quality control of forging forming process

The main work of this process is to adjust the thickness, the mold alignment, the defects that are easy to appear, the size is too poor, the material is missing, the folding, the wrong mold, the bump, the missing or unmarked mark, the oxidized pit, the difficult to die, It is prone to bending or deformation.

D.Trimming process inspection and quality control

A convenient way to check whether the trimming size is qualified is to use the template. The main inspection contents of the trimming process are: burr, presence or absence of overcut, residual flash size, presence or absence of punch indentation, presence or absence of bumping, and whether there is punching deformation.

E.Detection and quality control of the shaping process

Shaping is to compensate for the deformations created during the forging process in order to achieve more precise dimensional requirements and better surface shape and roughness. The main points of the inspection process are: whether the entire size meets the expected requirements, whether there is an indentation, whether there is overcorrection, and whether there is interference to other sizes.

5. On-line inspection and quality control after forging

After all the forging processes are completed, the forgings are thoroughly inspected and evaluated according to the technical standards. For the forged parts that have passed the adjustment of the mold and re-tested, the re-measurement needs to be re-measured to determine whether the failure has been eliminated. Inspect and mark it for review by the inspection personnel. The first item is retained until the end of the shift and can be transferred to the next step with the product. The test results should be recorded, the recorded data should be statistically analyzed, and the process capability analysis can be performed on certain characteristics as needed. The items that can be inspected at the forging site should be measured in the field as much as possible, and the items to be measured by special measuring instruments or devices should be used. For example, magnetic particle inspection, three coordinates, projectors, etc., after the project can be measured on site, it will be sent to the laboratory for testing. According to the principle of easy and difficult, the measurement cost will be reduced. Because the forging flow line is determined by the forging process, it has little relationship with the small adjustment of the forging thickness and the wrong mold. It takes a long time to carry out the cross-section streamline test, so the cross-section streamline test can be carried out early.

According to the requirements, the full-size inspection of the forgings can be carried out, that is, all the dimensions of the drawings are fully inspected. Under normal circumstances, the inspection contents are many, and the new products, the first part in mass production, or the newly-changed molds are fully inspected. More, mainly to prevent failures in the mold production.

For forgings that fail to pass the measurement, they shall be marked and isolated, and shall not be mixed into the batch of qualified products.

Under normal circumstances, hot forgings are strictly prohibited to be cooled by water. In order to improve the detection efficiency and reduce the cooling waiting time before measurement, if possible, wind blowing may be used. Do not blow the chrome molybdenum steel with wind. If it is blown by the wind, it will affect the follow-up. Machining.

6. Forging completion inspection and quality control

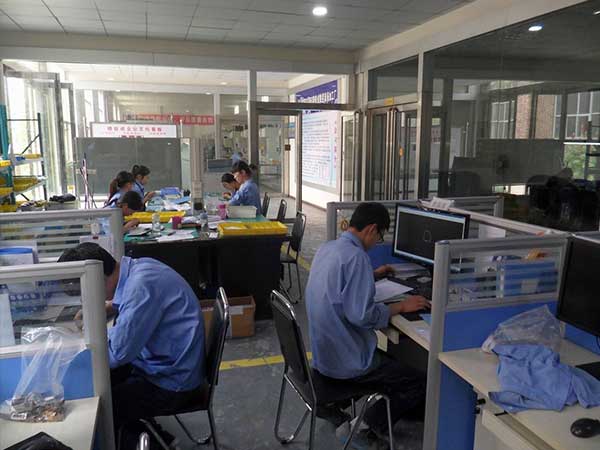
The forgings are finished in batches, and the forging completion inspection should be carried out before the order. According to the requirements of the documents, sampling inspection or full inspection can be carried out. The quality defects and quality costs of the product defects should be evaluated, and then the full inspection should be carried out. Below the subsequent quality costs, the full inspection is selected. The principle of quality control is to eliminate the failure in the previous process.

The items for full inspection generally include: appearance, marking, important size, and parts with requirements for pass-through. For the unqualified products selected, the red pens are marked on the unqualified parts for easy identification, easy identification and subsequent disposal. The yellow flag is applied to the basket containing the non-conforming product, and there should be error-proof measures.

7. Inspection and quality control of forged products

(1) The finished product inspection time is preferably arranged in more than 30% of the batch packaging (some customers require the packaging quantity to exceed 60% when the inspection is required), and the packaging method meets the delivery conditions.

(2) The special finished product inspectors shall open the box inspection according to the sampling plan specified in the inspection documents and randomly sample them.

(3) For finished products with long storage time and poor storage environment, increase the number of unpacking inspections before shipment, and sometimes check the products located in the upper, middle, lower and side. Mainly check whether the appearance is rust, mildew, discoloration, peeling off the surface coating, whether the package is damaged or adhered to the product.

(4) If some indicators such as material, yield strength, tensile strength, and impact work have been done before a finished product inspection, and the records are in good condition, you can directly quote the data without having to redo.

(5) The format of the finished product inspection record shall conform to the customer’s requirements, and the software used in the electronic document shall be compatible with the customer’s quality management system.